How To Correctly Install Stainless Steel Drill Tail Screws
Jun 09, 2023
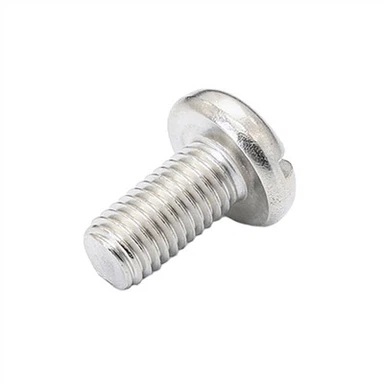
The screw is a tool for fastening the parts of the object step by step by using the physical and mathematical principles of the oblique circular rotation and friction of the object. Among them, the drill tail screw is a screw with a self-tapping drilling head at the front end of the screw. It is a new invention of people in recent years, and it is also called a self-drilling screw.

Drilling screws are actually a kind of wood screws, mainly used for fixing color steel tiles of steel structures, and can also be used for fixing thin plates of simple buildings. The tail of the drill tail screw is in the shape of a drill tail or a sharp tail, without auxiliary processing, it can be directly drilled, tapped and locked on the setting material and base material, which greatly saves construction time.
Compared with ordinary screws, drill tail screws have higher toughness and holding power, and they will not loosen after a long time of combination. They can be used, safely drilled, and tapped at one time, and the operation is simple. When using screws, if you can understand the mechanical properties of the screws first, then you can use the drill tail screws better. Different types of screws have different mechanical properties, and the different mechanical properties lead to different occasions for the use of screws. That means there are also differences in the methods they install.
1. Stainless steel drill tail screws need a special electric drill (recommended power 600W).
2. Adjust the locator of the electric drill to a suitable position to ensure that the screw is drilled to the correct position. Check the drill speed:
When using 3.5(6#); 3.9(7#); 4.2(8#); 4.8(10#) 410 screws, ensure that the electric drill rotates at 1800-2500 rpm;
When using 5.5(12#); 6.3(14#) 410 screws; make sure that the electric drill rotates at 1000-1800 rpm.;
When using 3.5(6#); 3.9(7#); 4.2(8#); 4.8(10#) 304 screws; ensure that the electric drill rotates at 1500-2000 rpm;
When using 5.5 (12#); 6.3 (14#) 410 screws; make sure that the electric drill rotates at 1000-1500 rpm.
3. Choose a suitable socket or cross bit to install on the electric drill, and then connect the screws.
4. When installing, the screw and electric drill must be perpendicular to the surface of the profiled steel plate, and click the power switch to create a center point with force.
5. Apply a force of about 13 kg to the electric drill by hand, and ensure that the force is on the same vertical line as the center point.
6. Turn on the power switch, do not stop halfway, and stop drilling immediately after the screw is in place (to prevent insufficient drilling and excessive drilling)